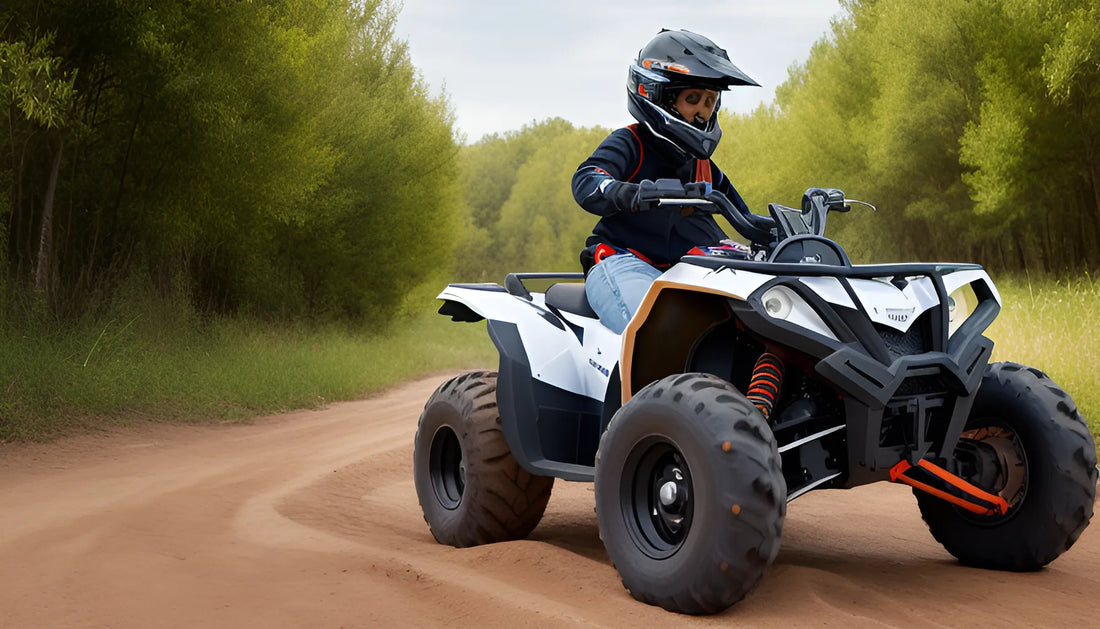
How to Properly Size an ATV helmet for a kid
Jeremy KuehniShare
When it comes to riding youth powersports, safety should always be the top priority. One essential piece of safety equipment is a properly sized helmet. A correctly fitted helmet not only protects the rider's head in case of an accident but also ensures maximum comfort and visibility during the ride. In this article, we will guide you on how to properly size a youth motocross helmet to ensure the best fit for your young rider.
Step 1: Measure the Head
The first step in finding the right size helmet is to measure the circumference of the rider's head. Take a soft measuring tape and wrap it around the widest part of the head, just above the eyebrows. Make sure the tape is snug but not too tight. Take note of the measurement in centimeters or inches.
Step 2: Check the Sizing Chart
Each motocross helmet brand comes with its own sizing chart. Using the measurement taken in the previous step, refer to the manufacturer's sizing chart to determine the appropriate helmet size. Keep in mind that different brands may have slight variations in sizing, so always refer to the specific brand's chart.
Step 3: Try it On
Once you have determined the correct helmet size according to the sizing chart, it's time to try it on. Make sure the rider's hair is pulled back to get an accurate fit. The helmet should fit snugly on the head, with the cheek pads pressing against the cheeks. The helmet should not be too tight or too loose, and the rider should be able to move their head comfortably.
Step 4: Check for Proper Fit
When trying on the helmet, there are a few things to check for to ensure a proper fit:
- The helmet should sit level on the head, with the front edge just above the eyebrows.
- The cheek pads should provide a firm but comfortable fit, without excessive pressure.
- The helmet should not move around when the rider shakes their head side to side or up and down.
- The chin strap should be securely fastened and snug, but not overly tight.
Step 5: Consider Safety Certification
While sizing is important, it is equally crucial to choose a helmet that meets safety standards. Look for helmets that are DOT (Department of Transportation) or Snell certified. These certifications ensure that the helmet has passed rigorous safety tests and provides optimal protection.
Step 6: Check for Comfort Features
Aside from the proper fit, it's also essential to consider comfort features when choosing a youth motocross helmet. Look for helmets with adequate ventilation to keep the rider cool during long rides. Additionally, helmets with removable and washable liners are ideal for maintaining cleanliness and freshness.
Step 7: Replace When Necessary
As your young rider grows, their head size may change. It is essential to regularly check the fit of the helmet and replace it when necessary. A helmet that is too tight or too loose can compromise safety, so always ensure that the helmet fits correctly.
Conclusion
Properly sizing a youth motocross helmet is crucial for both safety and comfort. By following these steps and referring to the manufacturer's sizing chart, you can ensure that your young rider gets the right fit. Remember, a well-fitting helmet is a small investment that can make a big difference in protecting your child while they enjoy the thrilling sport of motocross.
